How to Use a Plotmaster: Step-by-Step Guide for Food Plot Success
How to Use a Plotmaster: A Step-by-Step Guide for First-Time Users
Welcome to the Plotmaster family. Whether you just bought your first unit, looking at the options, or you're already gearing up to tackle your food plots this season, this step-by-step guide will help you get the most out of your equipment. Built by hunters, for hunters, the Plotmaster is designed to simplify food plot planting with an all-in-one system that's rugged, dependable, and incredibly versatile. Here's everything you need to know to get started.
1. Select the Right Plotmaster
Before you start, make sure you’re using the correct unit for your vehicle and the size of your land:
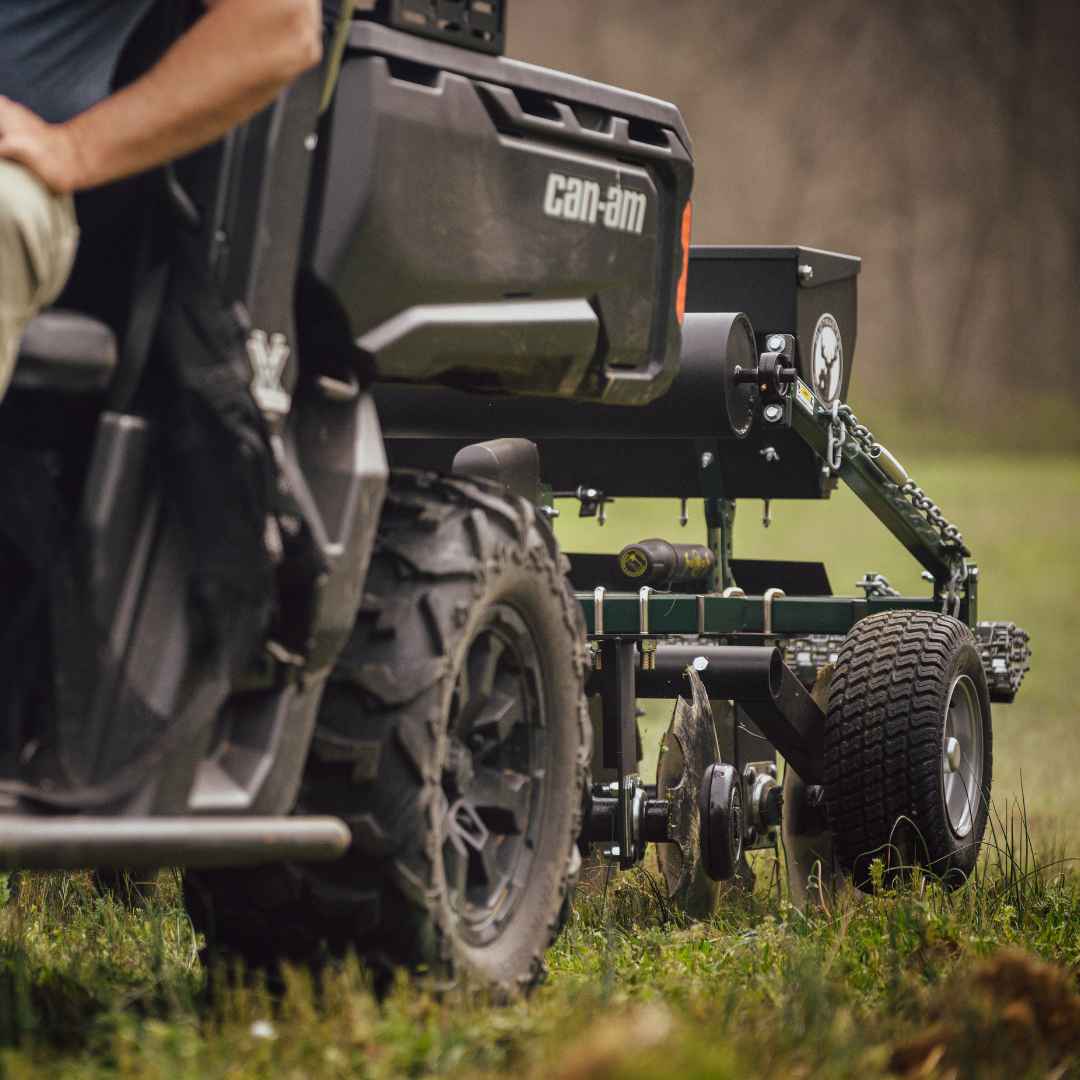
- Hunter 400: Ideal for ATVs/UTVs (500cc+) and tractors under 30 HP.
- Hunter 500: Designed for heavier-duty UTVs (800cc+) and tractors between 25–45 HP.

2. Prepare Your Plot
Proper site prep is key to a successful planting.
- Mow and spray your plot at least 3 to 4 weeks before planting. Use Roundup or Glyphosate at a rate of 2.5 quarts per acre.
- Allow the existing vegetation to fully die and become brittle before tilling.
- If legal in your area and heavy vegetation still exists, consider burning the dead vegetation to clear debris.
- Important: Do not use the Plotmaster to plant into live, green vegetation. It is not a mower and is not designed for this purpose. Always begin with well prepped ground for success in the field.
3. Soil Testing & Fertilizer
- Pull a soil sample and test for pH and nutrient levels.
- Apply lime and fertilizer per your soil test’s recommendation.
- Use granular products beforehand or liquid and foliar spray options (like DeerGro) at planting or during growth.
4. Setting Up Your Plotmaster
Proper setup ensures your unit performs at its best.
- Hitch your unit to a 2" ball with a height around 10" from the ground. The top of your ball should never exceed 12". Use a drop hitch if needed.
- Connect your control box directly to the existing battery on your atv, side-by-side, or tractor. No additonal battery is needed.
- Use your control box to lift/lower the tires. The higher you raise the tires, the deeper your discs will cut.
- Turn on your control box to be sure your seed rod is turning counter-clockwise when looking directly down at the motor.
- For hard-packed soil, attach the chisel plow for primary tillage, or adjust the angle of your bush-n-bog discs on your Hunter 500 for maximum tillage capabilities.
- For heavy sod, or pasture grass, attach the turning plow to slice beneath surface roots and flip over the topsoil, ideal for clearing new plots and exposing fresh dirt in tough conditions.
- For planting row crops like corn, soybeans, or peas, use the grain drill attachment to place seed precisely at the right depth and spacing, ideal for maximizing germination in uniform rows.
- Adjust your top link to shift weight toward the front or back. Want more digging power? Extend your chisel plow fully and angle your pitch for deeper cuts.

5. Planting with Your Plotmaster
Timing and technique matter.
- Timing: Plant based on seed type and your regional planting calendar. Moisture is key. Make sure to check the weather forecast.
- To avoid seed compaction, do not transport seed in a fully loaded seed box. Wait until you're in the field to pour in seed.
- Rule of Thumb: Open the seed gate until the largest seed in your mix drops. This is the easiest way to determine your seed gate setting. There is also a calibration chart for those wanting exact precision.
- Adjust your ground speed and gate opening to match your desired planting rate.
- Reference the seed chart inside the seed box and your owner’s manual for precise calibration help if needed.
6. Dragging & Cultipacking
Maximize seed-to-soil contact.
- Use the drag to lightly cover your seeds.
- Then run over the plot with the cultipacker to press the seed into the soil.
- Avoid planting too deep.
- Rule of thumb: Never plant deeper than 4 times the length of the seed.
7. Post-Planting Fertilizer
- Apply granular or foliar fertilizers after germination.
- Follow product-specific recommendations for reapplication.
8. Ongoing Maintenance
- Monitor for weeds and treat with appropriate herbicides.
- Keep an eye on moisture, especially during early growth stages.
9. Enjoy the Process
- Remeber to have fun out there. Take your friends and family and enjoy a couple hours in God's country. Never forget why we do this.
- Stay tuned for wildlife activity, trail cam updates, and watch how your hard work pays off this fall.
Pro Tips & Important Notes:
- Never put fertilizer in the seed box. It will corrode the metal and destroy the auger.
- Always make left-hand turns with the Hunter 400. Think NASCAR.
- Keep your unit clean, cultipacker greased, and stored out of the weather when not in use and it will last you for decades to come.
Need Help?
We’re here to support you with tutorials, parts, seed, and guidance. Check out Plotmaster University for videos and product-specific tips. You can also call us anytime or reach out on social media.
Happy planting and good luck this season!